


Table of Contents
Upgrading to Windows 11 can transform your computing experience with its sleek design, enhanced performance, and new features like improved multitasking and a modernized interface. Whether you’re upgrading from Windows 10 or performing a clean install, knowing how to install Windows 11 is essential for a smooth transition. This comprehensive guide, updated for 2025, walks you through the process step-by-step, making it easy for beginners and seasoned users alike. From checking system requirements to post-installation setup, we’ve got you covered.
What Is Windows 11, and Why Install It?
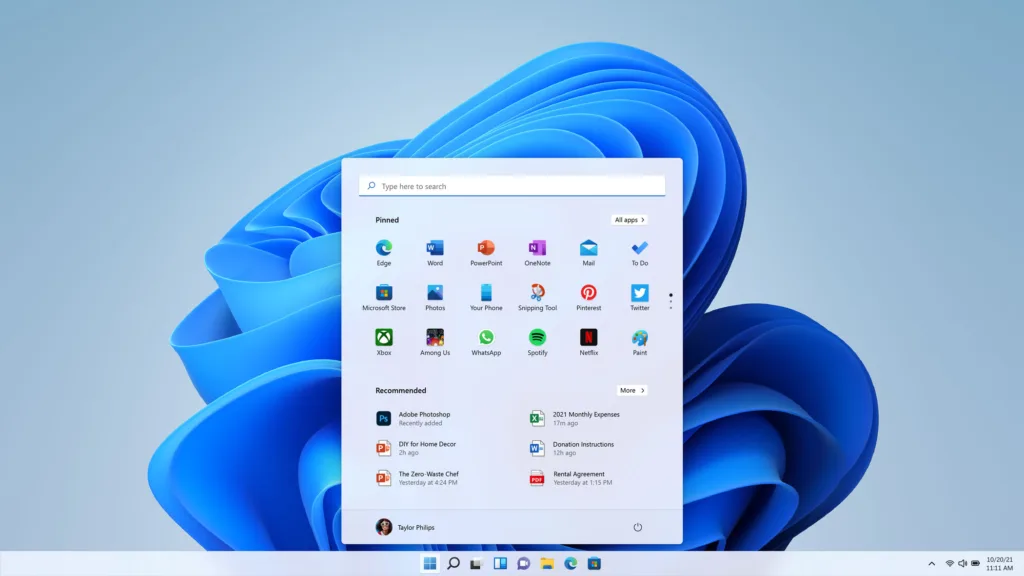
Windows 11, released by Microsoft in October 2021, is the latest operating system designed to enhance productivity, gaming, and user experience. With features like a centered Start menu, Snap Layouts for multitasking, and support for Android apps, it’s a significant upgrade from Windows 10. Installing Windows 11 ensures you have access to the latest security updates, performance improvements, and compatibility with modern software.
However, installing Windows 11 requires careful preparation to avoid issues like data loss or hardware incompatibility. This guide will help you navigate the process, whether you’re upgrading an existing system or starting fresh with a clean install.

Before You Start: Prepare to Install
Before diving into how to install Windows 11, you need to prepare your PC and gather the necessary tools. Proper preparation prevents common pitfalls and ensures a successful installation.
Step 1: Check System Requirements
Windows 11 has stricter hardware requirements than its predecessors. To confirm your PC is compatible, check the following:
- Processor: 1 GHz or faster, 64-bit processor with at least 2 cores (e.g., Intel 8th Gen or newer, AMD Ryzen 2000 or newer).
- RAM: 4 GB or more.
- Storage: 64 GB or larger storage device.
- Graphics: DirectX 12 compatible with WDDM 2.0 driver.
- TPM: Trusted Platform Module (TPM) version 2.0.
- Secure Boot: Enabled in your PC’s BIOS/UEFI settings.
- Display: 720p resolution, 9-inch or larger monitor.
Use Microsoft’s PC Health Check tool to verify compatibility. Download it from Microsoft’s official website and run a scan to confirm your system meets these requirements.
Step 2: Back Up Your Data
Installing Windows 11, especially a clean install, may erase your files, apps, and settings. To avoid losing important data:
- Back up files to an external hard drive, USB drive, or cloud storage (e.g., OneDrive, Google Drive).
- Save critical documents, photos, and videos.
- Export browser bookmarks and note app passwords.
Step 3: Gather Installation Tools
You’ll need the following:
- A USB drive (at least 8 GB) for creating installation media (if doing a clean install).
- A stable internet connection.
- A valid Windows 11 product key (if not upgrading from a licensed Windows 10 system).
- Access to another PC (optional) to create installation media.
How to Install Windows 11: Two Methods
There are two primary ways to install Windows 11: upgrading from Windows 10 or performing a clean install. We’ll cover both methods to help you choose the best approach.
Method 1: How to Install via Upgrade
Upgrading is the easiest way to install Windows 11 if you’re running a compatible version of Windows 10. This method preserves your files, apps, and most settings.
Step 1: Check for Update
- Open the Settings app on your Windows 10 PC (press Windows + I).
- Navigate to Update & Security > Windows Update.
- Click Check for updates. If Windows 11 is available, you’ll see an option to Download and install.
Step 2: Download and Install
- Follow the on-screen prompts to download Windows 11.
- The download size is around 4-5 GB, so ensure a stable internet connection.
- Once downloaded, the system will prepare the installation. This may take 20-60 minutes, depending on your PC’s speed.
Step 3: Restart and Complete Setup
- Your PC will restart several times during the installation.
- Follow the setup wizard to configure preferences like region, keyboard layout, and Microsoft account login.
- After setup, your desktop, apps, and files should be intact, though some apps may require reinstallation.
Pro Tip: If the Windows 11 update doesn’t appear, ensure your PC meets the system requirements or use the Windows 11 Installation Assistant (available on Microsoft’s website).
Method 2: How to Clean Install
A clean install wipes your drive and installs a fresh copy of Windows 11. This is ideal for troubleshooting issues, removing bloatware, or setting up a new PC.
Step 1: Create Windows 11 Installation Media
- Visit Microsoft’s official website and download the Windows 11 Media Creation Tool.
- Connect an 8 GB (or larger) USB drive to a working PC.
- Run the Media Creation Tool and select Create installation media for another PC.
- Choose your language, edition (e.g., Windows 11 Home or Pro), and architecture (64-bit).
- Select USB flash drive and follow the prompts to create a bootable USB.
Step 2: Boot from the USB Drive
- Insert the USB drive into the target PC.
- Restart the PC and enter the BIOS/UEFI settings (usually by pressing F2, Del, or Esc during boot).
- Set the USB drive as the primary boot device and enable Secure Boot if needed.
- Save changes and restart.
Step 3: Install Windows 11
- When the PC boots from the USB, the Windows 11 setup screen will appear.
- Select your language, time, and keyboard preferences, then click Next.
- Click Install now.
- Enter your product key (or skip if upgrading from a licensed Windows 10 system).
- Choose Custom: Install Windows only (advanced) for a clean install.
- Select the drive to install Windows 11 (delete existing partitions if you want a completely fresh install).
- Follow the prompts to complete the installation. The process may take 10-30 minutes.
Step 4: Complete Initial Setup
- After installation, the PC will restart and launch the setup wizard.
- Configure your region, keyboard, and network settings.
- Sign in with a Microsoft account (recommended) or create a local account.
- Customize privacy settings and choose whether to enable features like location or Cortana.
Post-Installation Steps: Setting Up
Once Windows 11 is installed, take these steps to optimize your experience:
Update
- Go to Settings > Windows Update.
- Click Check for updates to download the latest patches and drivers.
- Restart if prompted to apply updates.
Install Drivers
Windows 11 automatically installs most drivers, but you may need to manually update:
- Graphics drivers: Visit NVIDIA, AMD, or Intel’s website for the latest drivers.
- Motherboard drivers: Check your manufacturer’s website (e.g., ASUS, MSI) for chipset and audio drivers.
Restore Backed-Up Files
Transfer your backed-up files from your external drive or cloud storage to your PC.
Install Essential Apps
Reinstall your favorite apps, such as browsers (e.g., Chrome, Firefox), productivity tools (e.g., Microsoft Office), or gaming platforms (e.g., Steam).
Customize Settings
- Adjust the taskbar alignment (centered by default) in Settings > Personalization > Taskbar.
- Enable Snap Layouts for multitasking by hovering over the maximize button on any window.
- Explore Widgets (press Windows + W) for quick access to news, weather, and more.
Common Issues When Installing and How to Fix Them
Even with careful preparation, you may encounter issues. Here are solutions to common problems:
- “This PC doesn’t meet the requirements”: Use the PC Health Check tool to identify incompatible hardware. If TPM or Secure Boot is disabled, enable them in BIOS/UEFI.
- Installation stuck or slow: Ensure a stable power source and internet connection. Try restarting the installation or using a different USB drive.
- No product key: If upgrading from Windows 10, you may not need a key. For clean installs, purchase a valid key from Microsoft or authorized retailers.
- Missing drivers: Visit your PC or component manufacturer’s website to download missing drivers.
Benefits of Installing Windows 11
Installing Windows 11 offers several advantages:
- Modern Interface: A sleek, user-friendly design with rounded corners and a centered Start menu.
- Enhanced Gaming: Features like DirectStorage and Auto HDR improve gaming performance.
- Productivity Boost: Snap Layouts, virtual desktops, and improved Microsoft Teams integration streamline workflows.
- Security Improvements: TPM 2.0 and Secure Boot enhance protection against malware and attacks.
Should You Install Windows 11 in 2025?
Windows 11 is a worthwhile upgrade for most users, especially with Microsoft phasing out Windows 10 support by October 2025. However, consider these factors:
- Hardware Compatibility: Ensure your PC meets the requirements to avoid performance issues.
- Learning Curve: The new interface may take time to master, especially for long-time Windows users.
- Software Compatibility: Some older apps may not work seamlessly, so check compatibility before upgrading.
If your PC isn’t compatible, you can stick with Windows 10 until support ends or consider upgrading your hardware.
Conclusion
Learning how to install Windows 11 is straightforward with the right preparation and guidance. Whether you choose to upgrade from Windows 10 or perform a clean install, this 2025 guide provides all the steps you need for a successful installation. By checking system requirements, backing up data, and following our instructions, you can enjoy Windows 11’s modern features and improved performance in no time.
Ready to get started? Download the necessary tools, follow the steps above, and dive into Windows 11’s enhanced experience. If you run into issues, refer to our troubleshooting tips or visit Microsoft’s support page for additional help.
Windows 11 Download-Link
Maybe you are also interested in this article: How to reset AirPods